ArchanaSept. 29, 2025
Integrating Gmail with Odoo allows businesses to streamline communication, sync emails directly with their Odoo database, and manage tasks more efficiently. In this guide, we’ll walk you step-by-step through the process of setting up the Odoo Gmail Plugin for both Odoo Online/Odoo.sh and On-Premise users, ensuring seamless integration and improved productivity.
Databases hosted on Odoo Online or Odoo.sh require the following steps to configure the Gmail Plugin.
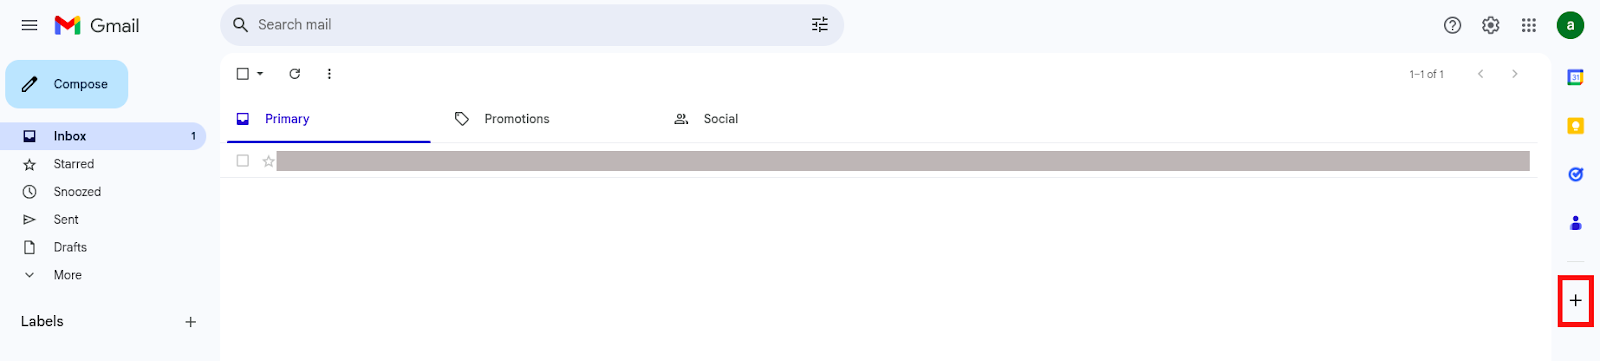
To set up the Gmail Plugin, start by signing into the Gmail account that will be linked with the Odoo database. In the Gmail inbox, open the right sidebar and click the plus (+) icon to access the add-ons menu. If the sidebar is not visible, it can be expanded by clicking the arrow icon in the bottom-right corner of the inbox, which reveals the panel for further configuration.
Next, in the add-ons menu, utilize the search bar to find the Odoo Inbox Add-in by typing "Odoo" and identifying the appropriate extension from the search results.

Alternatively, navigate directly to the Odoo Inbox Add-in page on the Google Workspace Marketplace for a streamlined approach. Once on the page, locate the Odoo Inbox Add-in and click the Install button. A prompt will appear; click Continue to initiate the installation process.
Next, select the Gmail account to be integrated with Odoo. A prompt will appear requesting permission for Odoo to access the Google account—click Allow to continue. After successful authorization, Google displays a pop-up window confirming that the Odoo Inbox Add-in has been installed successfully.
To utilize the Gmail Plugin, the Mail Plugin feature must first be activated within the Odoo database. Navigate to the Settings menu and select General Settings. Locate the Integrations section, enable the Mail Plugin option, and then click the Save button to confirm and apply the changes.

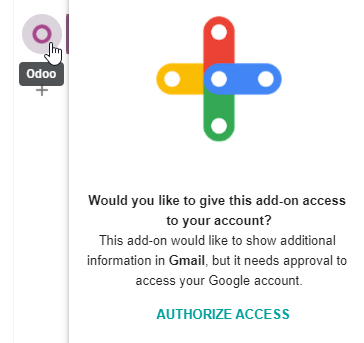
After the Gmail Plugin is installed, a purple Odoo icon appears in the right sidebar of the Gmail inbox. Clicking this icon launches the Odoo plugin window. Next, select an email from the inbox, and in the plugin window, click Authorize Access to permit Odoo to connect with the Gmail inbox.

Then, click Allow to grant Gmail access to the Odoo database. A “Success!” message will appear in the browser, confirming the connection. Afterward, close the window. The Gmail inbox and Odoo database will then be fully integrated.
For Odoo databases hosted on private servers (outside Odoo Online or Odoo.sh), additional configuration is required to integrate Gmail. The following steps outline the process to connect a Gmail account and enable email synchronization within Odoo.
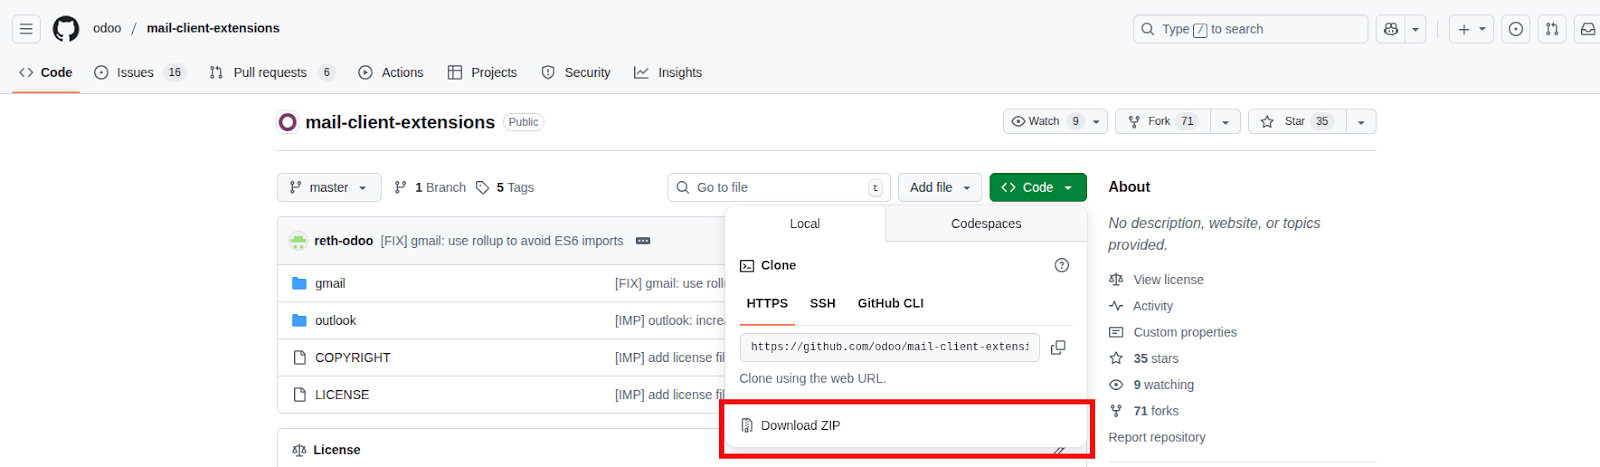
To customize and deploy the Odoo Gmail Plugin, begin by accessing the GitHub repository for Odoo Mail Plugins. Click the green Code button, then select Download ZIP to save the Mail Plugin files locally.
Extract the ZIP file and navigate to the mail-client-extensions-master/gmail/src/views directory.
Open the login.ts file in a text editor such as Notepad (Windows), TextEdit (Mac), or Visual Studio Code. Remove the following three lines from the login.ts file to eliminate the odoo.com domain restriction:
if (!/^https:\/\/([^\/?]*\.)?odoo\.com(\/|$)/.test(validatedUrl)) {
return notify("The URL must be a subdomain of odoo.com");
}
Next, in the extracted ZIP file, go to the mail-client-extensions-master/gmail directory and open the appsscript.json file. In the urlFetchWhitelist section, replace all instances of odoo.com with the Odoo customer’s unique server domain to allow the plugin to communicate with the custom Odoo instance.
In the same gmail folder, locate and open the README.md file. Follow the instructions provided in README.md to push the modified Gmail Plugin files as a Google Project.
After the Google Project has been set up, it should be shared with the Gmail account designated for connection with Odoo. In the Google Cloud Console, select Publish and then choose Deploy from manifest. Finally, click Install the add-on to finalize installation of the customized Gmail Plugin.
Before the Gmail Plugin can be used, the Mail Plugin feature must be enabled in the Odoo database. Open the Settings menu and select General Settings. In the Integrations section, locate the Mail Plugin option and activate it by selecting the checkbox. Finally, click Save to confirm and apply the changes.

After the Gmail Plugin is installed, a purple Odoo icon appears in the right sidebar of the Gmail inbox. Clicking this icon opens the Odoo plugin window. From there, an email can be selected, and the Authorize Access option clicked in the plugin window to grant Odoo permission to interact with the Gmail inbox.
Next, click Login, enter the URL of the Odoo database to be connected with the Gmail account, and sign in to the database. Then, click Allow to grant Gmail access to the Odoo database. A “Success!” message will appear in the browser, confirming the connection. Once the window is closed, the Gmail inbox and Odoo database will be fully linked.
The Odoo Gmail Plugin provides a seamless integration between Gmail and Odoo, streamlining communication and task management for both Odoo Online and On-Premise users. By installing the plugin, configuring the database, and authorizing Gmail access, users can synchronize emails and maintain an organized workflow, ensuring no critical data is missed. This powerful tool enhances productivity, efficiency, and overall business operations.


1