ArchanaJune 6, 2026
Managing project-related emails manually can quickly become overwhelming, especially when important requests are buried in crowded inboxes. Creating tasks one by one from incoming emails not only consumes valuable time but also increases the risk of overlooking critical work items. Odoo 19 simplifies this process by allowing emails to be converted into project tasks automatically.
By configuring email aliases within a project, organizations can ensure that every relevant email is captured as a task, helping teams stay organized, improve collaboration, and maintain a more efficient workflow. This automation reduces administrative effort and allows employees to focus on completing tasks rather than managing them manually.
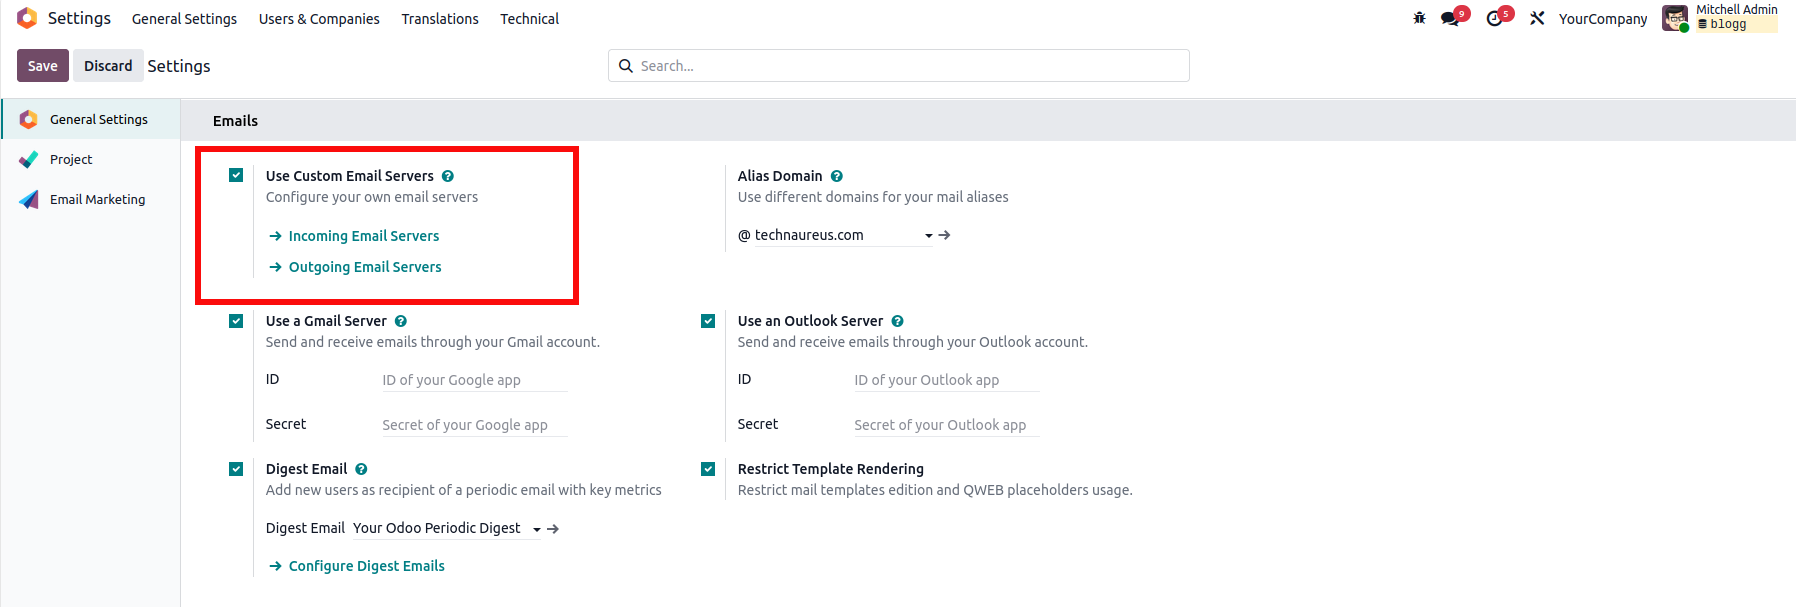
Before setting up email-based task creation, ensure that an alias domain is configured in Odoo. If an alias domain has not yet been created, navigate to Settings → General Settings → Emails. In the email configuration section, locate the Alias Domain option and either select an existing domain or create a new one.
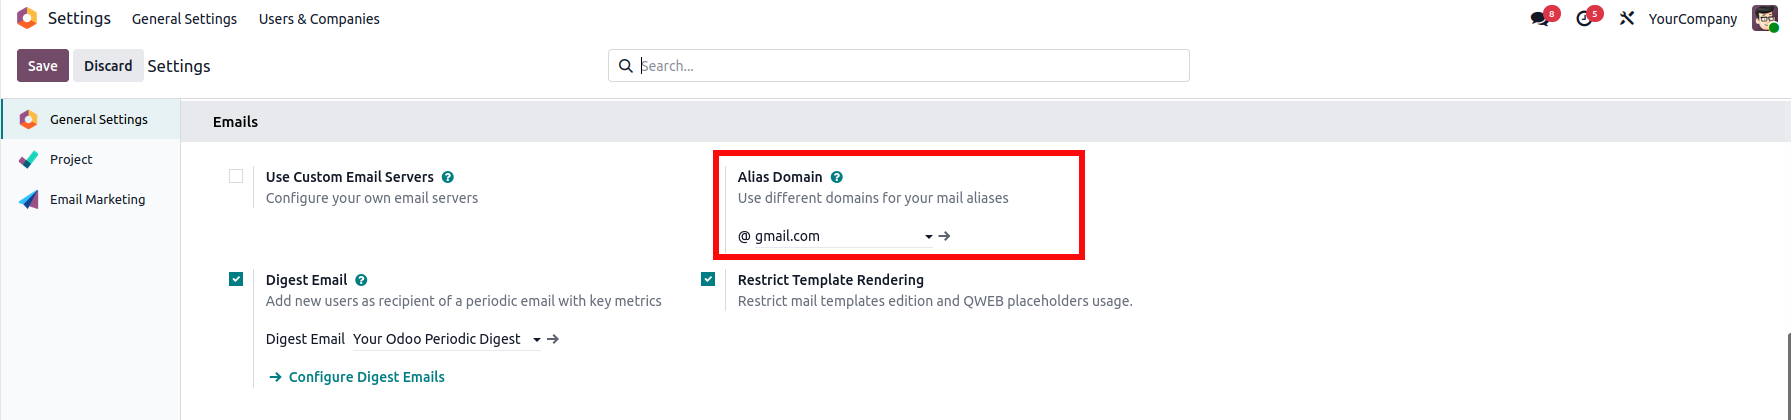
The alias domain serves as the foundation for generating project-specific email aliases and enables Odoo to route incoming emails correctly.
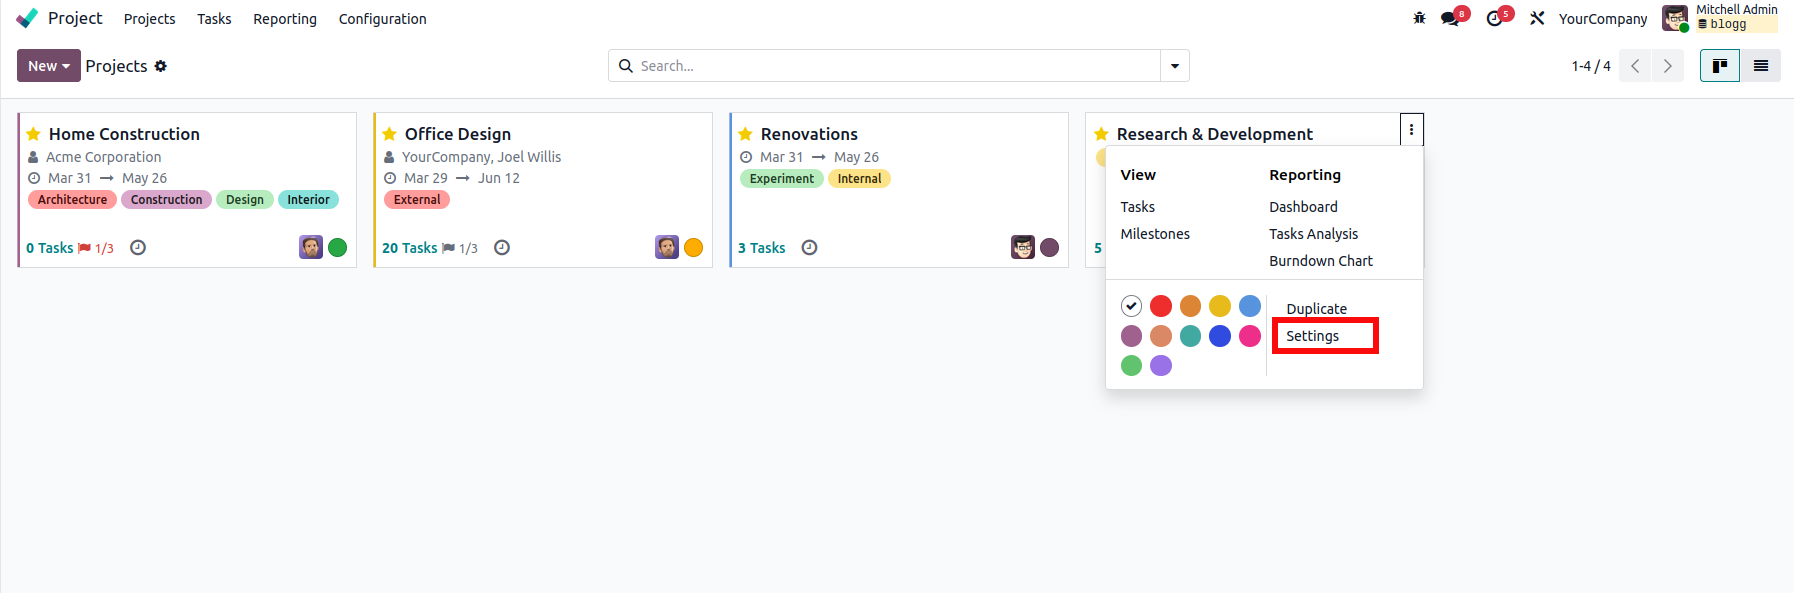
To enable automatic task creation in Odoo 19, open the Project module and select the project where incoming emails should be converted into tasks. If the project does not already exist, create a new one and provide an appropriate name.
Navigate to the Settings tab within the project and locate the Email Alias field. Enter a dedicated alias that users can send emails to in order to create tasks automatically. Any email received through this alias will generate a new task within the project. For existing projects, simply configure or update the alias as needed.
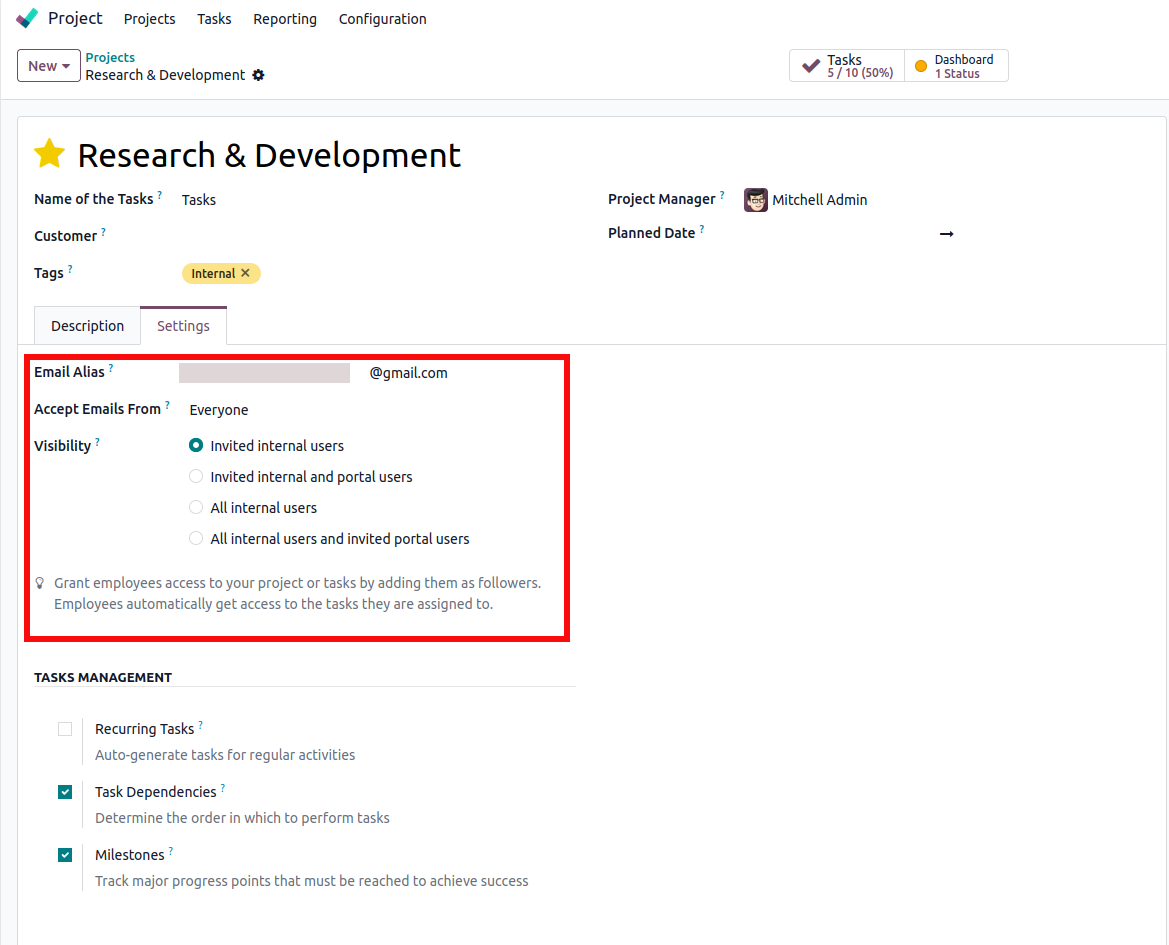
Next, configure the Accept Emails From setting to control who can create tasks through the email alias. Depending on your requirements, you can allow emails from everyone or restrict task creation to specific groups of users.
You can also define the project's Visibility settings to determine who can access the project and its tasks. Odoo provides multiple visibility options, such as allowing access only to invited internal users, invited internal and portal users, all internal users, or all internal users together with invited portal users. Choose the option that best matches your organization's collaboration and security needs.
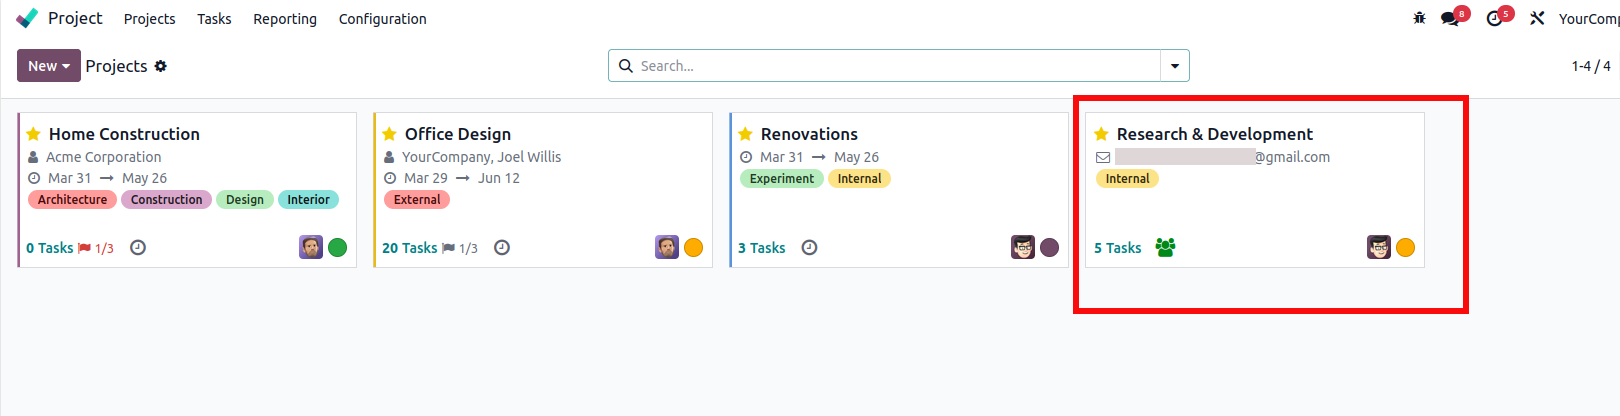
Once these settings are configured, the project is ready to receive emails and automatically convert them into tasks while maintaining the desired level of access control and visibility.
The next step is configuring an incoming mail server so Odoo can receive and process emails.
Navigate to Settings → General Settings → Email, then enable the Use Custom Email Servers option. Once enabled, click Incoming Mail Servers to access the list of configured mail servers.
The system will display all existing incoming mail server configurations. To add a new one, click New.

A configuration form will appear where you need to provide the necessary mail server details, including the Server Name, Server Type, Port Number, Login Credentials, and any additional connection settings required by your email provider.
In the Actions to Perform on Incoming Mails section, create a new action record and select Task as the action type. This ensures that emails retrieved from the mail server are processed and converted into project tasks automatically.
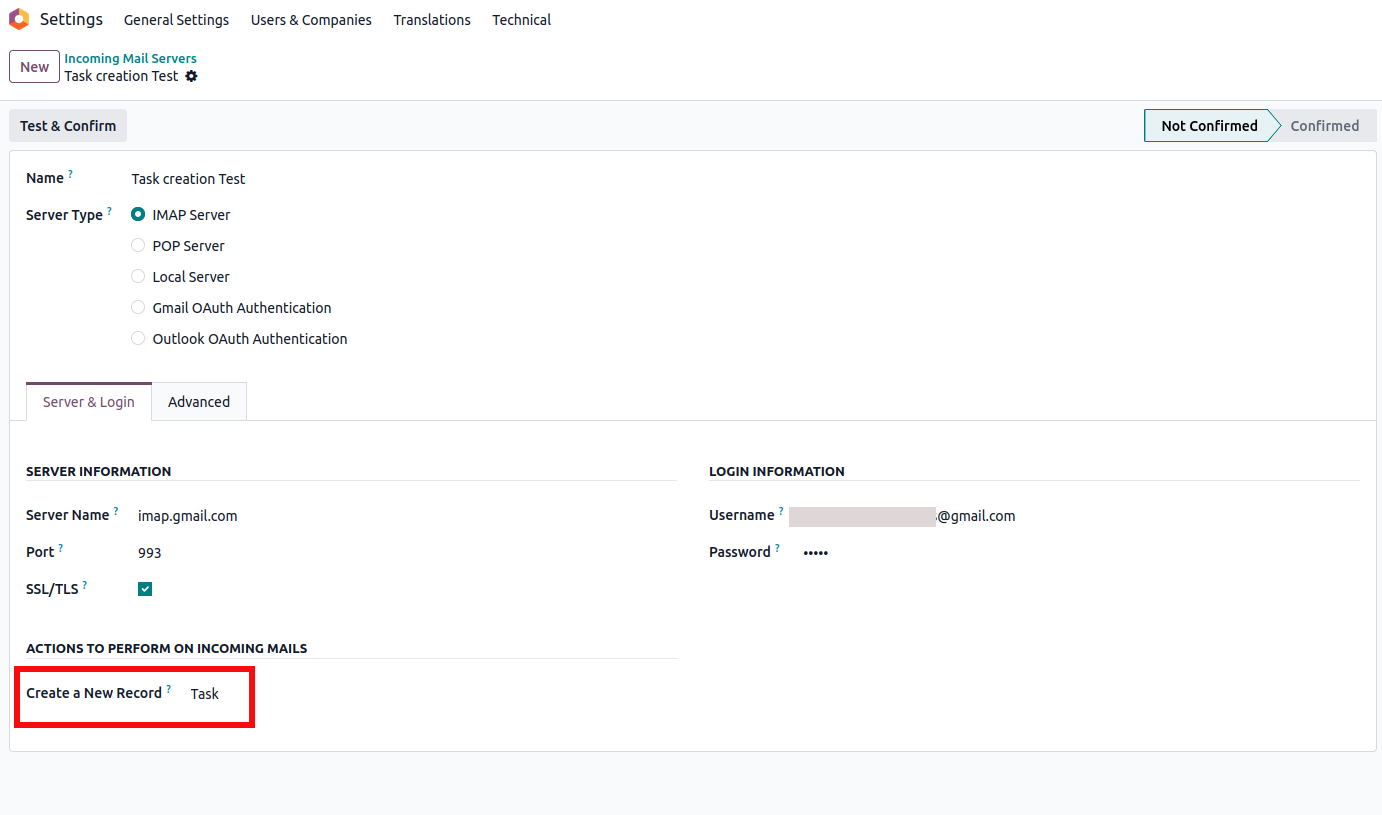
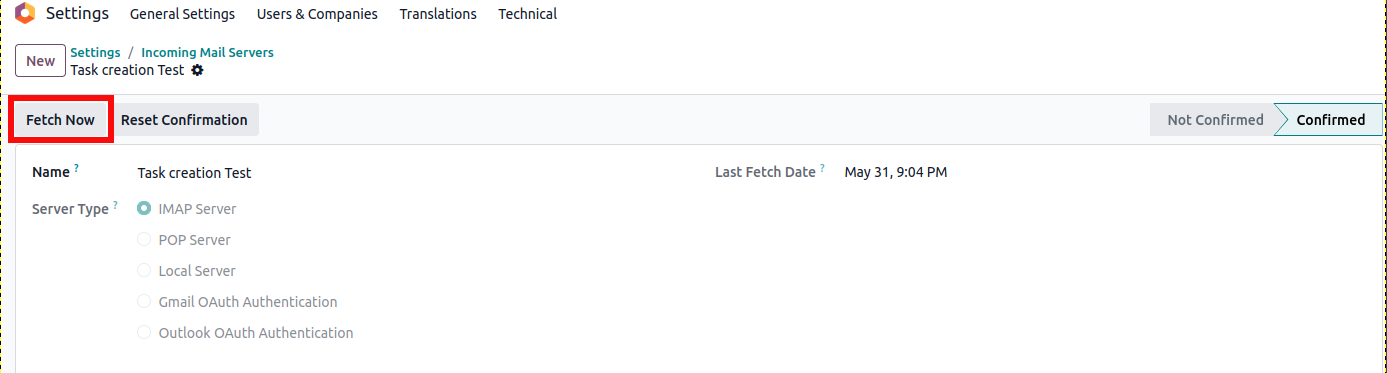
After entering the necessary details, click Test & Confirm to verify the connection.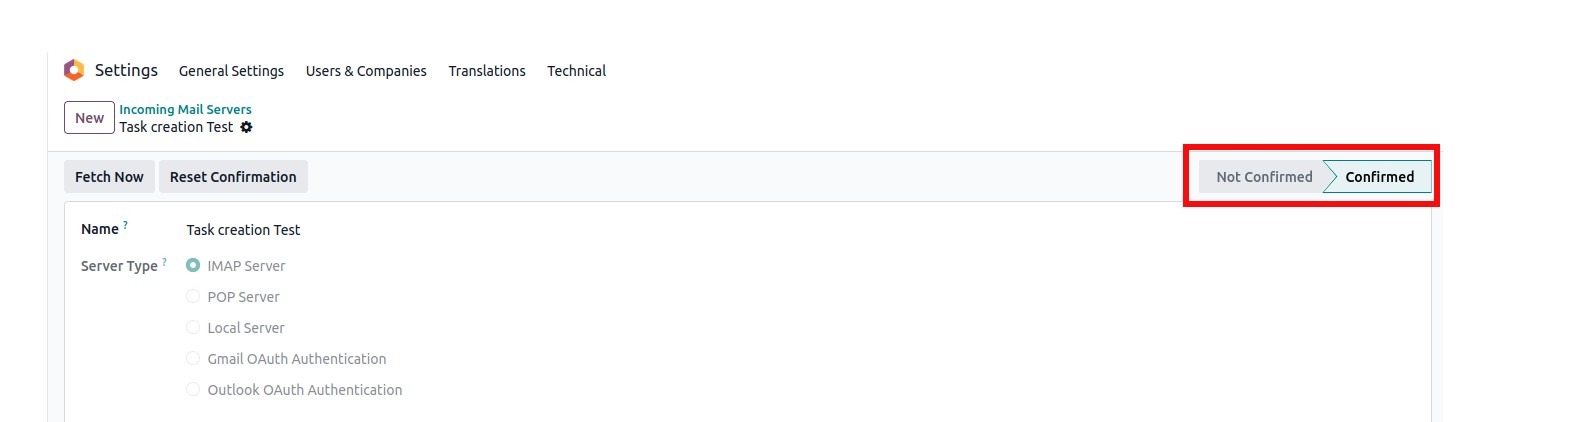
If the configuration is successful, the server status will change from Not Confirmed to Confirmed, indicating that Odoo can successfully communicate with the mail server.
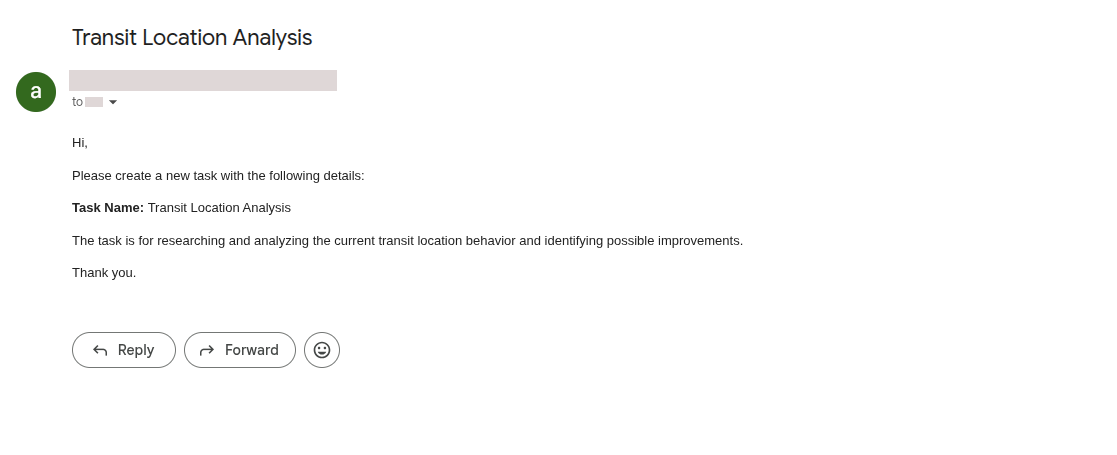
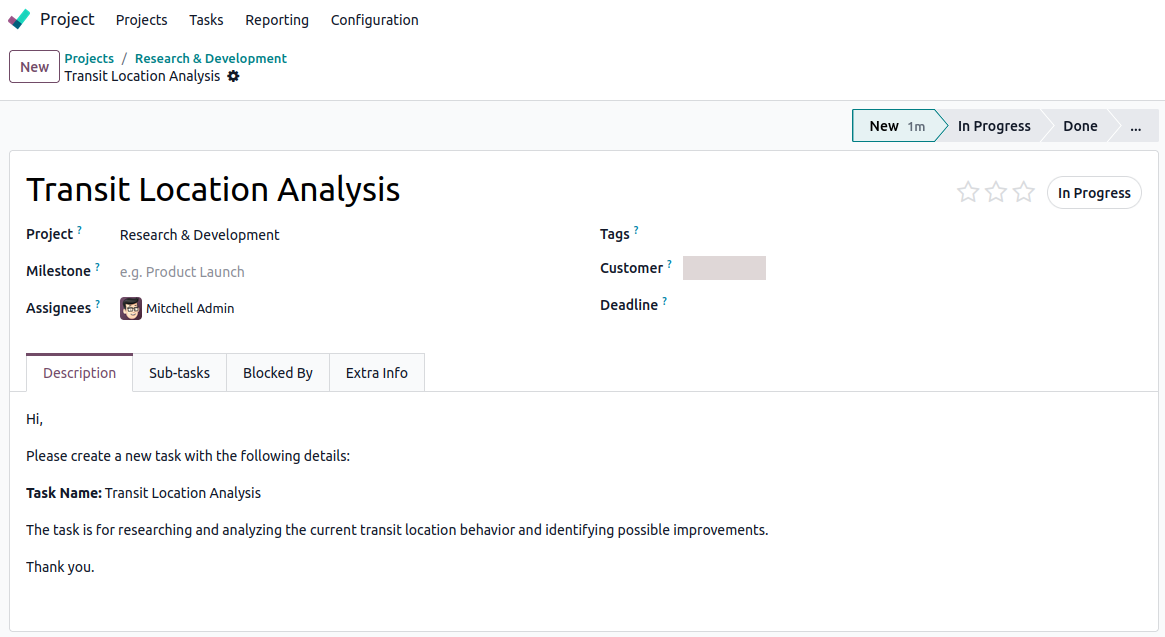
Once the alias and incoming mail server have been configured, Odoo automatically creates a project task whenever an email is received through the designated alias.
The system processes the email as follows:
This ensures that all relevant information is preserved and immediately available to the project team.
After sending a test email to the configured alias, navigate to the incoming mail server configuration and click Fetch Now. This action forces Odoo to retrieve and process any pending emails from the mail server.
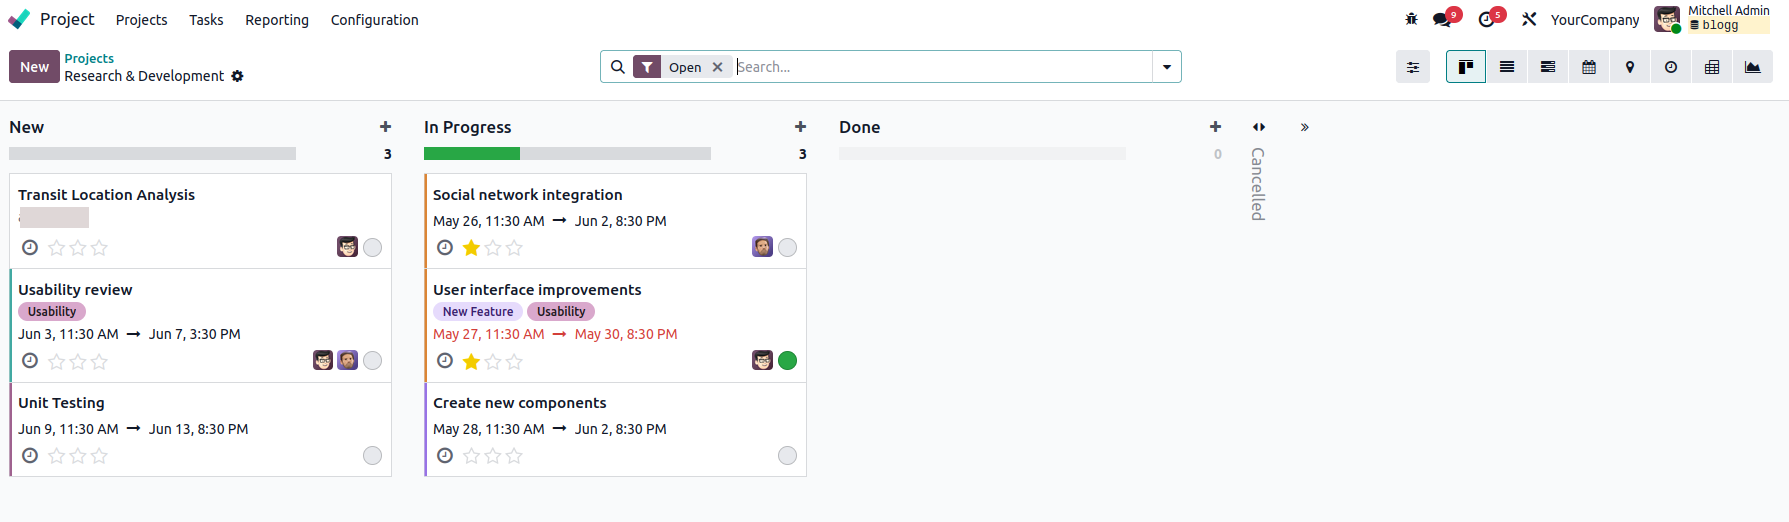
Once the emails have been fetched, open the Project module and access the project associated with the alias. You should see the newly created task listed within the project.
Email-based task automation in Odoo 19 provides a practical solution for managing project communications more effectively. By automatically transforming emails into actionable tasks, businesses can:
Instead of spending time manually creating and tracking tasks, teams can focus on execution and project delivery. With a properly configured email alias and mail server, Odoo 19 offers a streamlined way to capture work requests and keep projects moving forward without interruption.


0