AfrahApril 24, 2024
Dashboards are essential for optimizing user experience, increasing productivity, and supporting well-informed decision-making. In Odoo 17, to create a dashboard, firstly create a menu action in the .xml file as
<menuitem name="Scheduled Activity"
id="menu_activity_dashboard"
sequence="6"
action="action_activity_dashboard"/>
To provide a smoother and more responsive user experience for dashboard interactions ir.client_actions are used for rendering dashboard. The action mentioned in menuitem can be defined as
<record id="action_activity_dashboard" model="ir.actions.client">
<field name="name">Scheduled Activity Dashboard</field>
<field name="tag">activity_dashboard</field>
</record>
Here the ‘name’ defines the name to be shown in the dashboard and ‘tag’ specifies the tag associated with the action. This tag connects the action with js. In Odoo 17 dashboards are created by extending component in js and connectiong it with the action. To extend component create a js file in static >> src >> js
/** @odoo-module **/
import { registry } from "@web/core/registry";
import { Component, onWillStart,onWillUpdateProps, useState } from "@odoo/owl";
import { useService } from "@web/core/utils/hooks";
export class Dashboard extends Component {
setup() {
super.setup();
this.orm = useService("orm");
this.state = useState({hierarchy: {}});
onWillStart(this.onWillStart);
}
}
Dashboard.template = "ActivityDashboard";
registry.category("actions").add("activity_dashboard", Dashboard);
In the setup() function of the component, we can add the tasks to be performed when loading the dashboard. The onWillStart() function is then called, which fetches the data to be shown in the dashboard using the ORM method.
onWillStart(){
var default_activity_id;
var default_activity_name;
var activity_data = [];
var self=this;
self.orm.call("activity.dashboard", "get_scheduled_activity", [
]).then(function(result){
self.state.hierarchy = result
});
}
Define the funtion get_scheduled_activity in activity.dashboard model.
Now define the template ActivityDashboard in
static >> src>> xml
<?xml version="1.0" encoding="UTF-8"?>
<templates>
<t t-name="ActivityDashboard">
<style>
.o_control_panel {
display: none;
}
</style>
<div class="container-fluid wrap">
<div class="selection_cards">
<div class="row my-5">
<t t-foreach="state.hierarchy" t-as="activity"
t-key="activity.id">
<div class=" col-6 col-sm-6 col-md-4 col-lg-2">
<div class="scheduled_activity text-white m-1">
<div class="activity row">
<div class="col-8">
<h5 id="activity_name"
class="text-white">
<t t-esc="activity[0].activity.en_US"/>
</h5>
</div>
<div class="card_head col-4 text-end">
<button class="btn float-right activity_details"
id="activity_details"
t-on-click="_onClick_activity"
t-att-value="activity[0].id"
t-att-data-name="activity[0].activity.en_US">
<i class="fa fa-arrow-right text-white"></i>
</button>
</div>
</div>
<div class="border"></div>
<div class="card_body">
<a class="text-white" href="#">
<div class="row line">
<div class=" col-8">
<p>Late</p>
</div>
<div class="count_section col-4 ml-auto
text-end">
<p>:
<t t-esc="activity[0].late"/>
<span></span>
<i class="fa fa-angle-right"
aria-hidden="true"></i>
</p>
</div>
</div>
</a>
<a class="text-white" href="#">
<div class="line row">
<div class="col-8">
<p>Today</p>
</div>
<div class="count_section col-4 ml-auto
text-end">
<p>:
<t t-esc="activity[0].today"/>
<span></span>
<i class="fa fa-angle-right"
aria-hidden="true"></i>
</p>
</div>
</div>
</a>
<a class="text-white" href="#">
<div class="line row">
<div class="col-8">
<p>Future</p>
</div>
<div class="count_section col-4 ml-auto
text-end">
<p>:
<t t-esc="activity[0].future"/>
<span></span>
<i class="fa fa-angle-right"
aria-hidden="true"></i>
</p>
</div>
</div>
</a>
</div>
</div>
</div>
</t>
</div>
</div>
</div>
</t>
</templates>
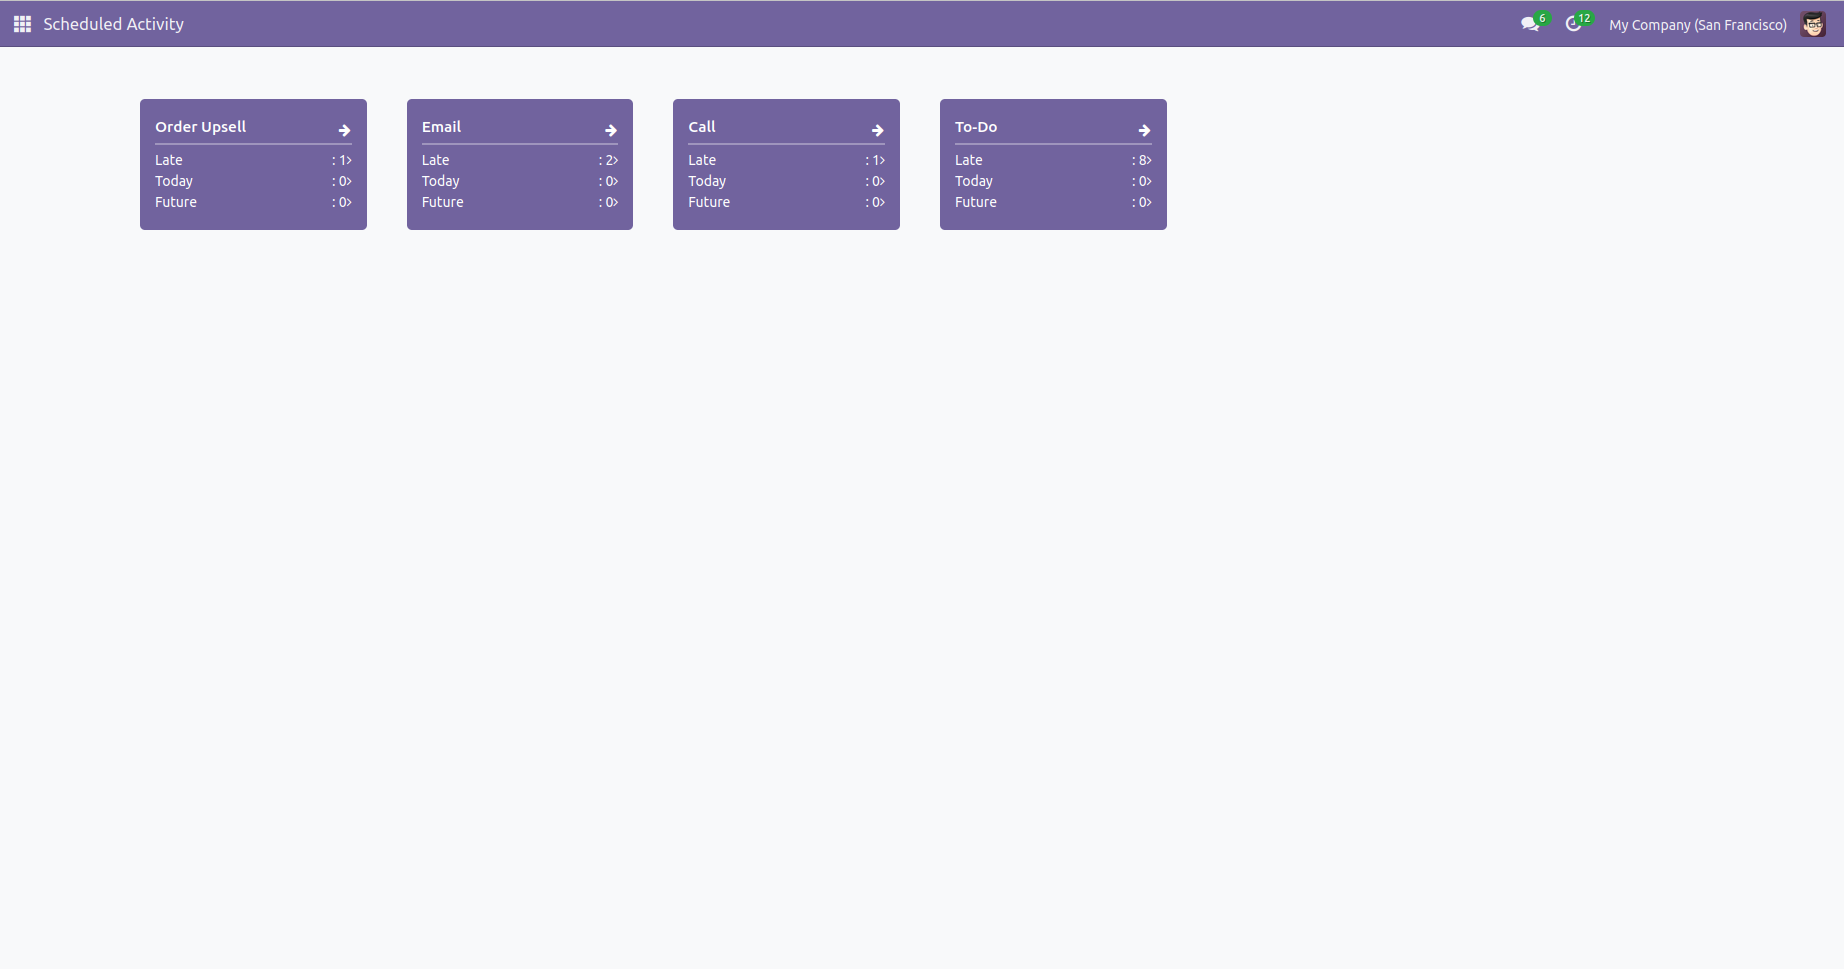
The below screenshot shows the dashboard that is created.


0